
DIY Tips for Installing a Vinyl Fence in Howell


Getting Started: Planning Your Vinyl Fence Installation
Installing a vinyl fence is a great way to enhance your property's privacy and aesthetic appeal. Before you start, it's crucial to plan the project carefully. Begin by measuring the area where you want the fence and mark the boundaries. Consider local zoning laws and regulations in Howell, as certain permits might be required. A well-thought-out plan ensures a smooth installation process and helps avoid potential issues.
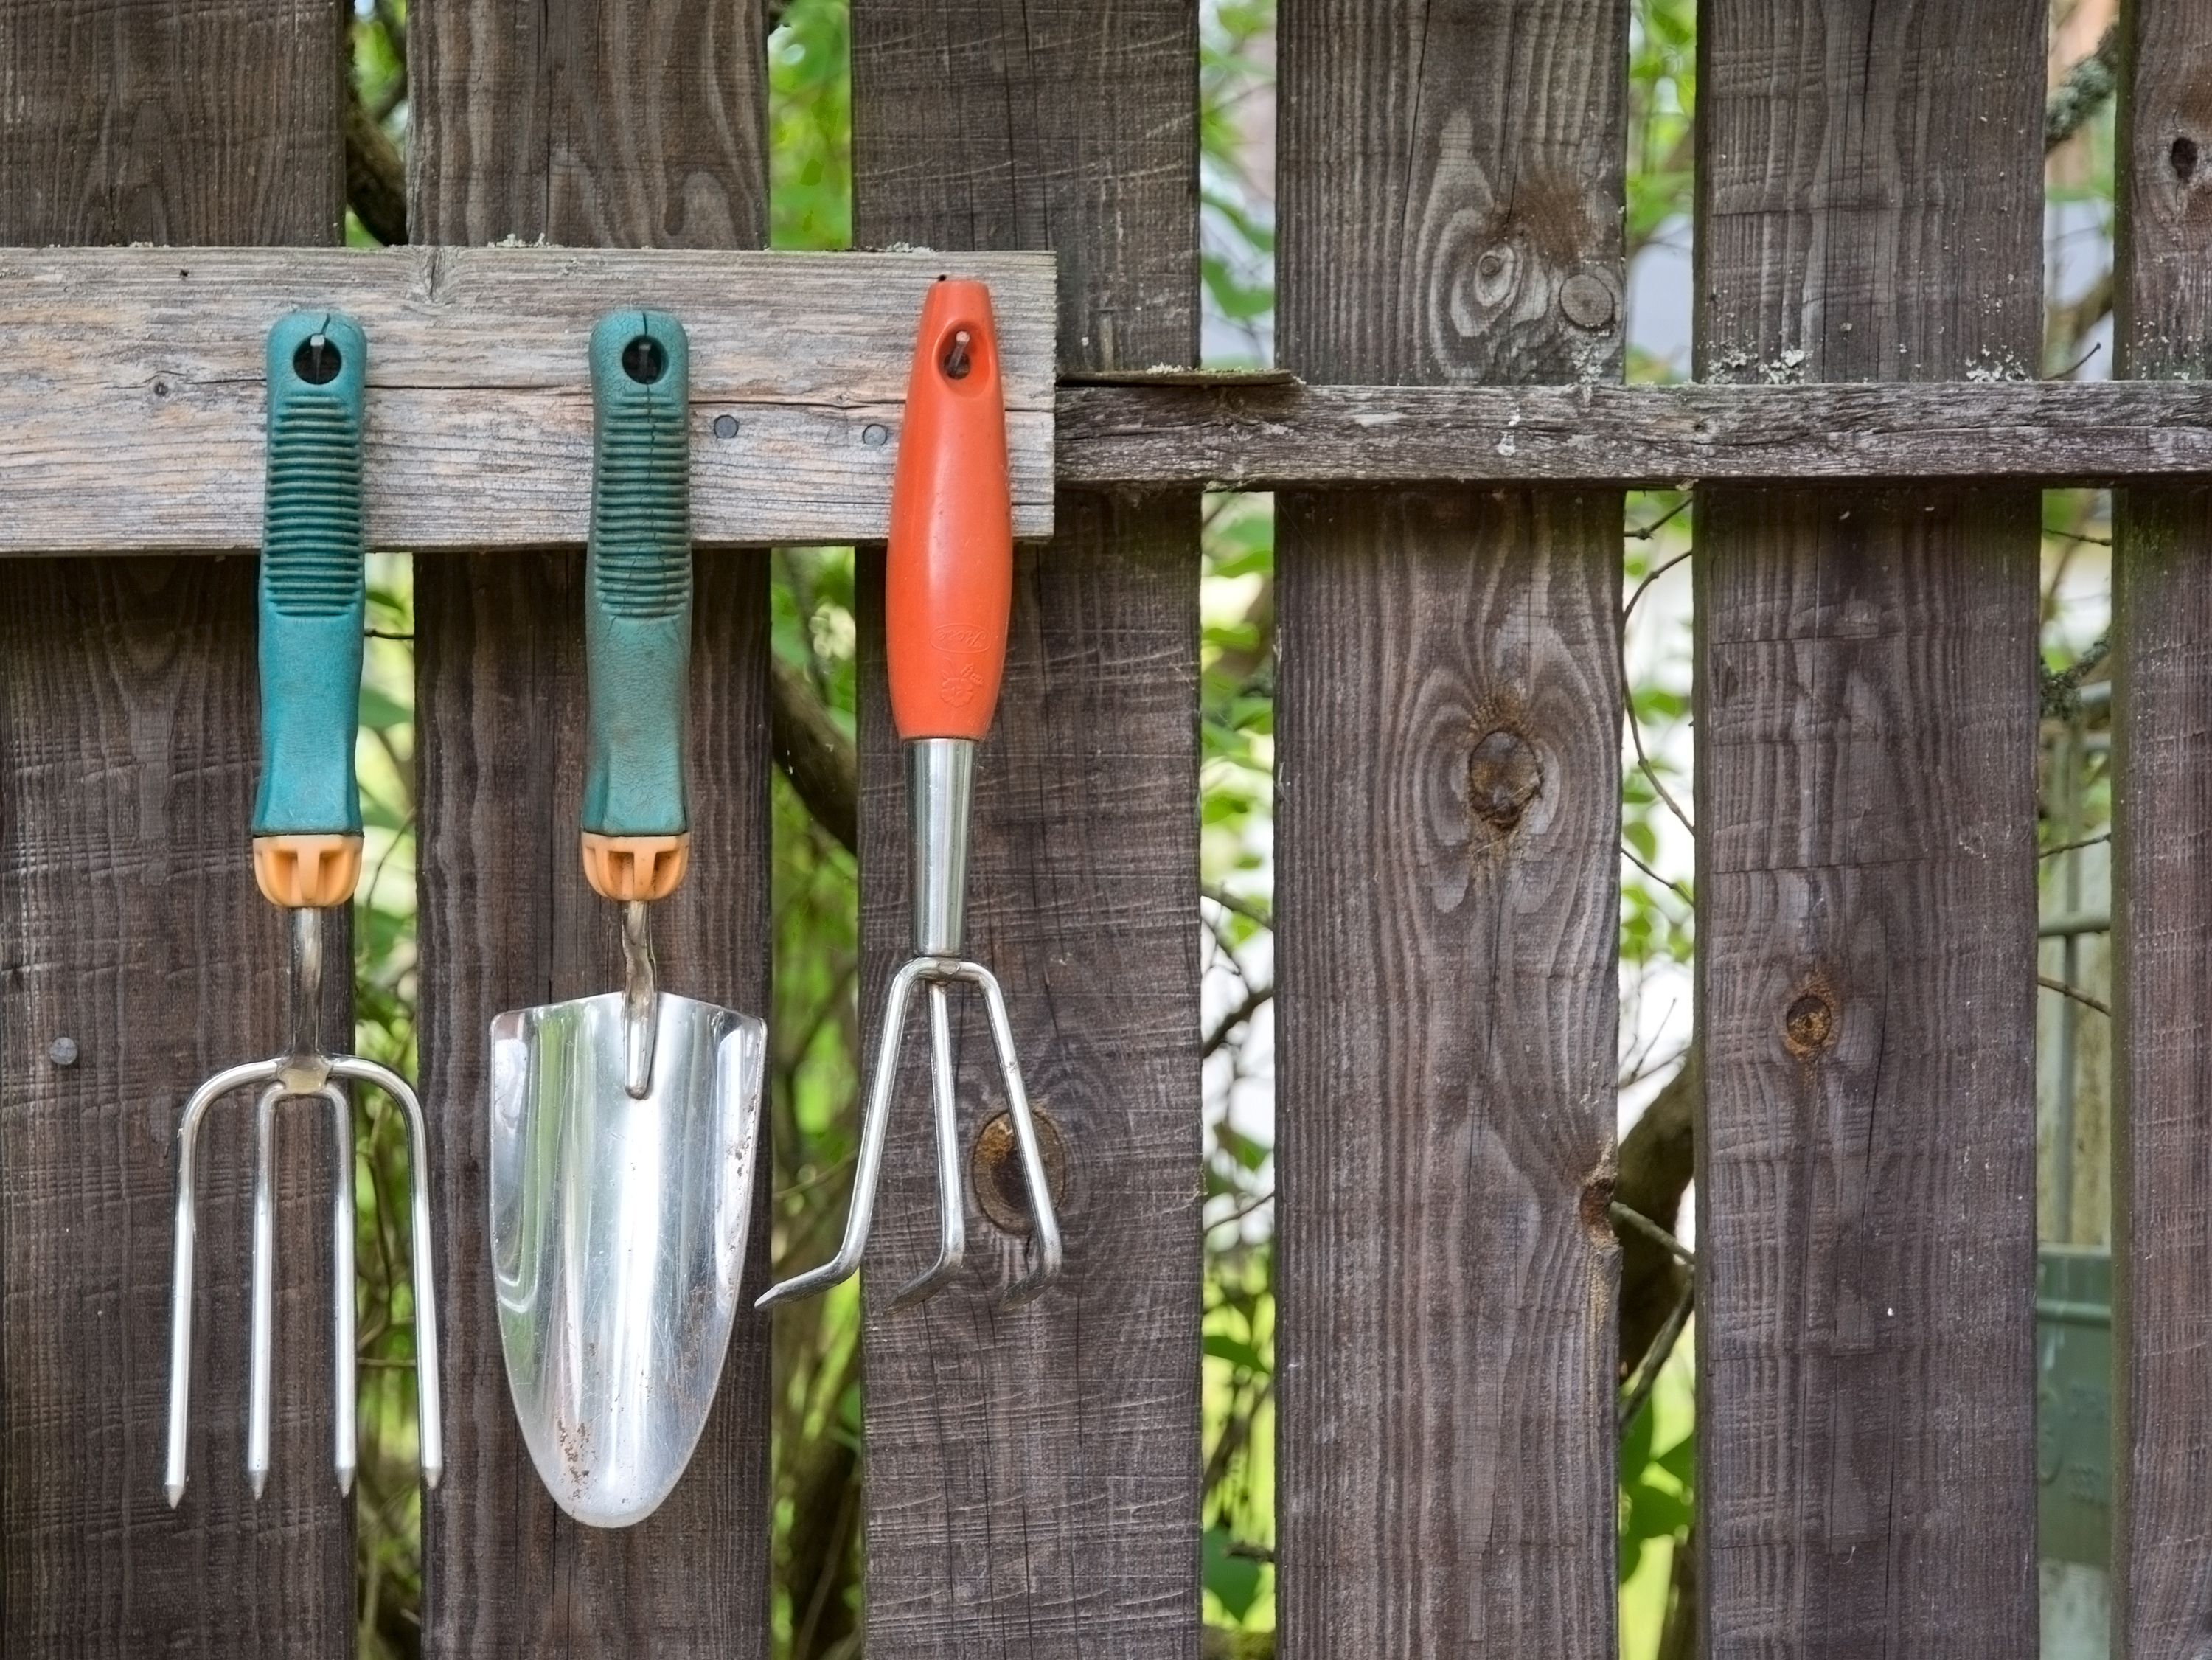
Next, gather all the necessary materials and tools. Typically, you'll need vinyl fence panels, posts, concrete mix for securing the posts, a post-hole digger, a level, a tape measure, and a power drill. Purchasing quality materials will ensure your fence stands strong for years to come.
Preparing the Ground: Setting Up the Fence Posts
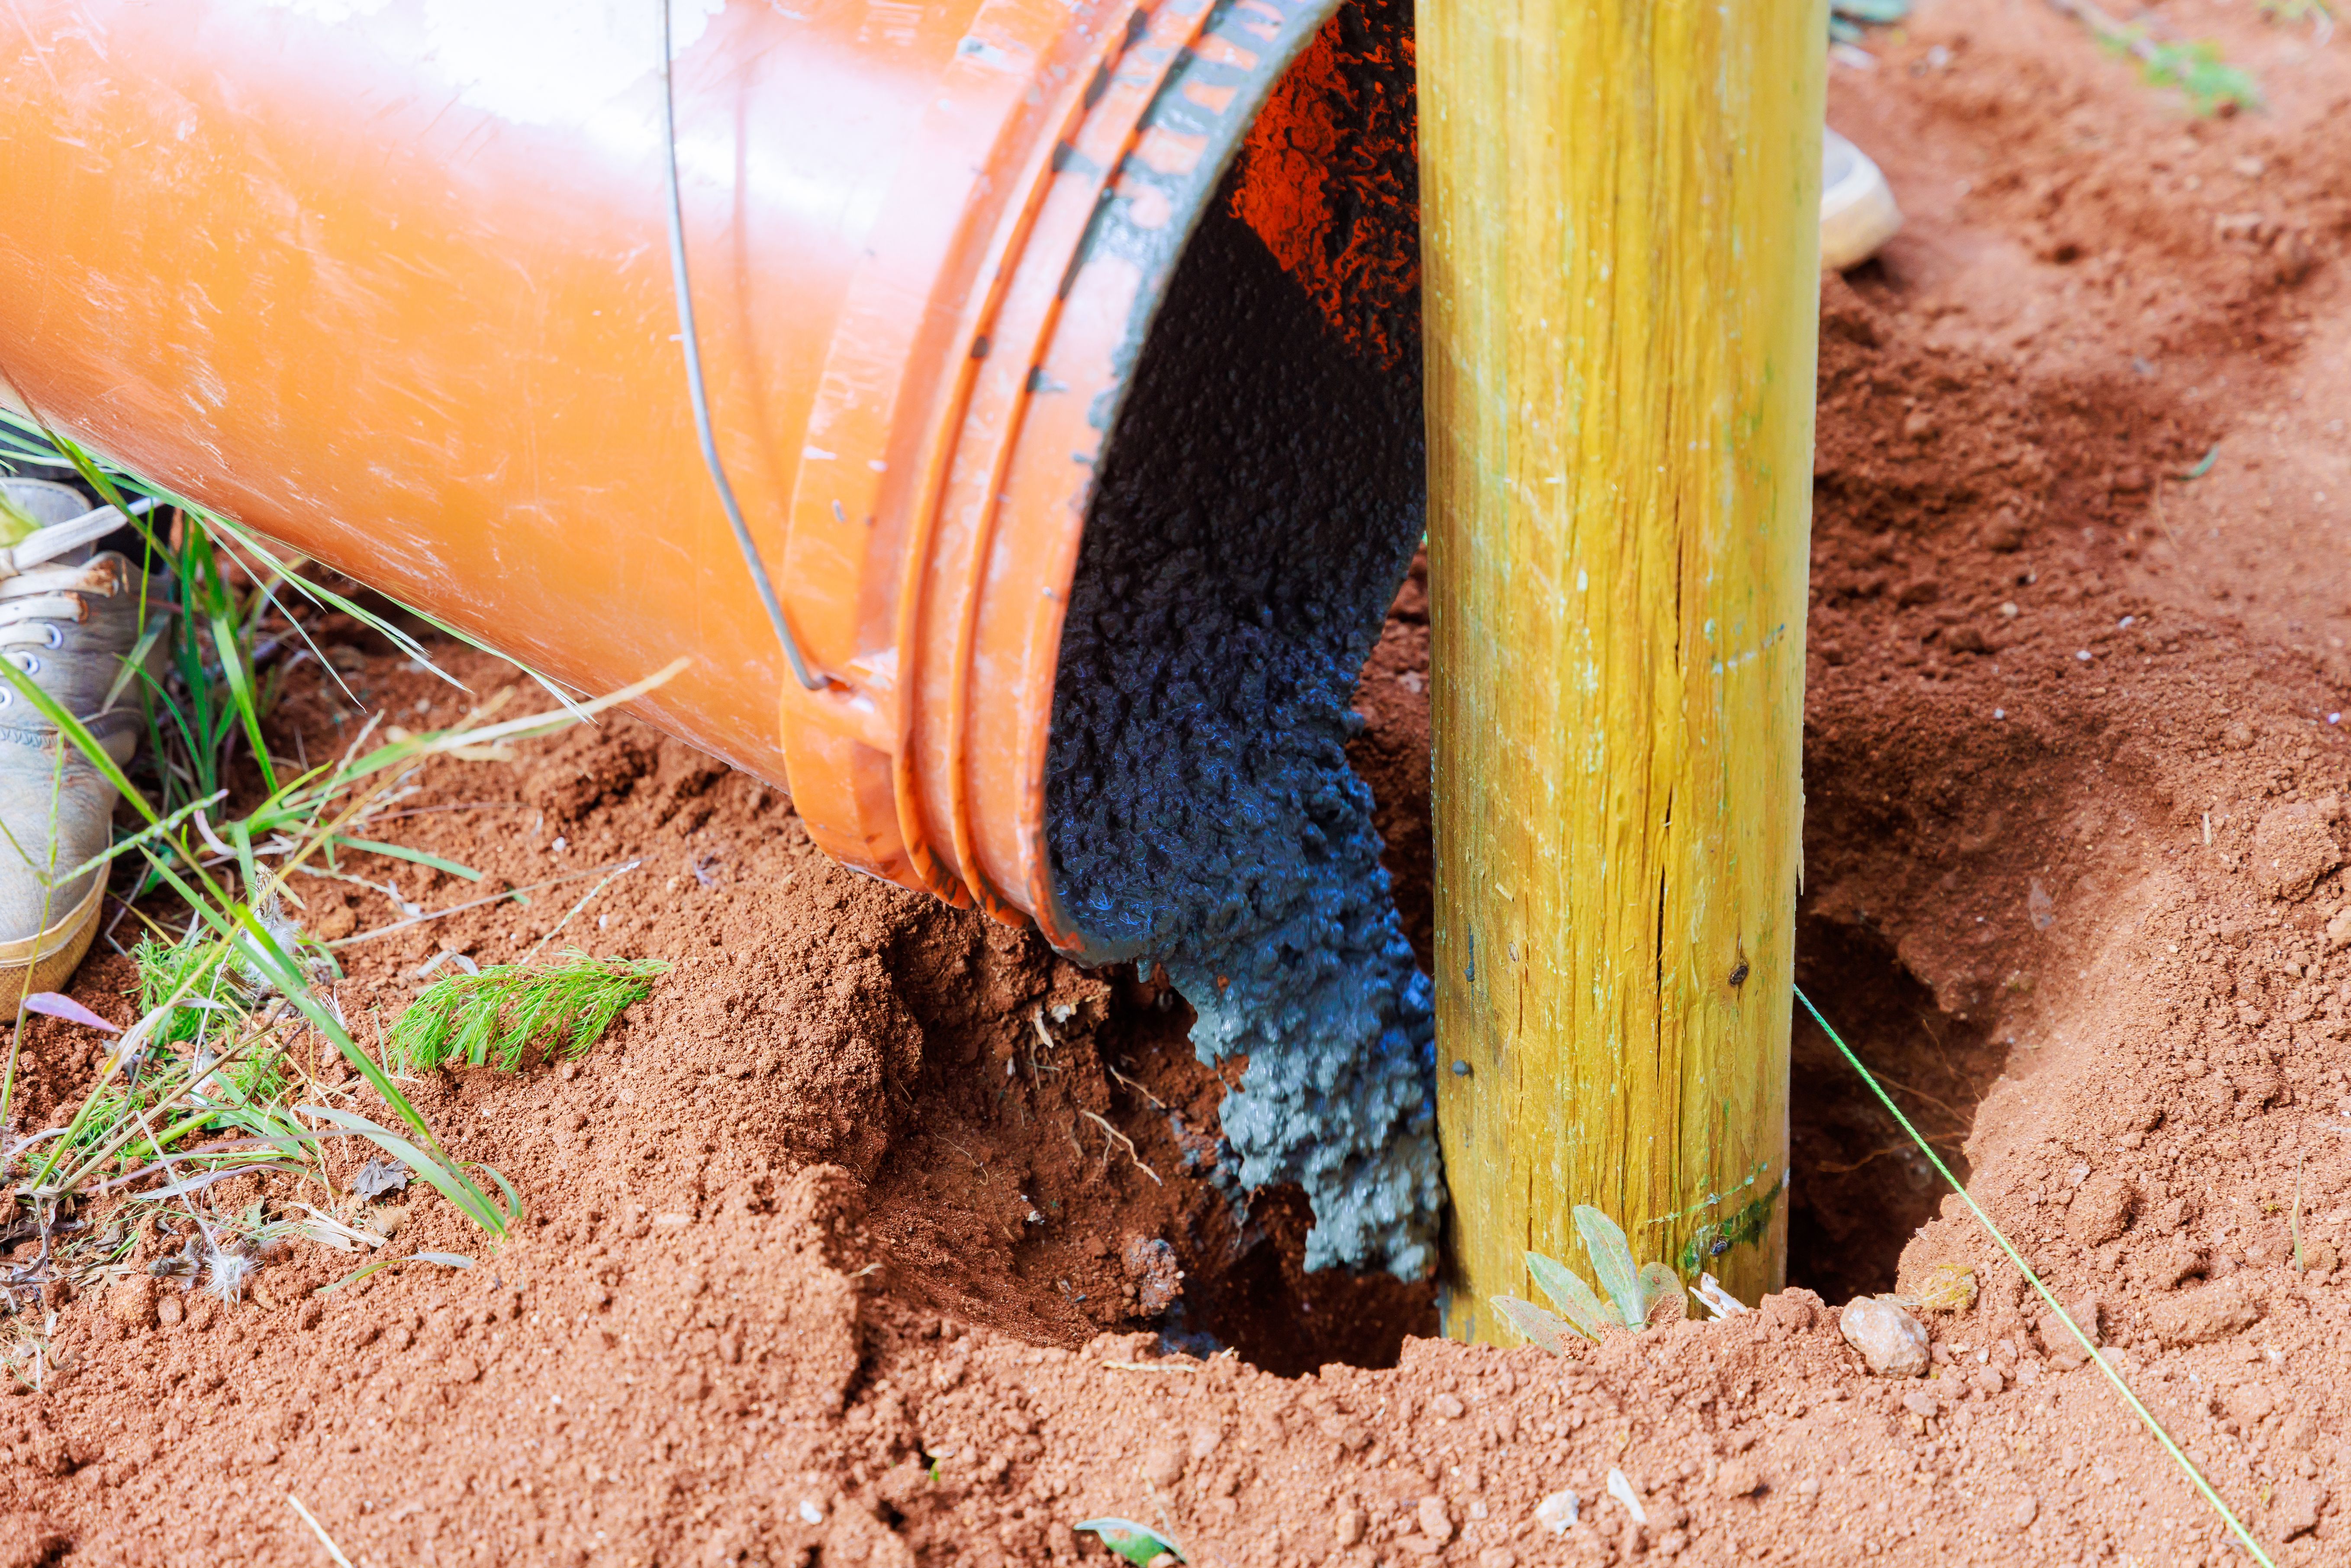
The strength of your vinyl fence heavily relies on the stability of its posts. Begin by using the post-hole digger to create holes for your fence posts. The holes should be deep enough to support the height of your fence, generally about one-third of the post's length. Ensure that each hole is spaced evenly, typically around 6 to 8 feet apart, depending on the panel size.
Once your holes are ready, place a post in each one and fill it with concrete mix. Use a level to ensure each post is vertically straight. Allow the concrete to set according to the manufacturer's instructions before proceeding with the next steps.
Assembling and Attaching Vinyl Panels
With the posts securely in place, it's time to attach the vinyl panels. Most vinyl fences come with easy-to-assemble panels that fit into slots on the posts. Start by aligning the bottom rail with the slots on two adjacent posts. Secure it using screws provided in your fencing kit.
Next, slide the panels into place between the posts. Ensure they are level and properly aligned. Once positioned correctly, secure the top rail over the panels. This method provides a clean and sturdy structure for your vinyl fence.
Finishing Touches: Caps and Final Adjustments
After assembling your fence panels, it's time to add the finishing touches. Vinyl fence post caps not only provide a polished look but also protect your posts from weather-related damage. Secure each cap on top of the posts using adhesive or screws, depending on the design of your fence.
Walk along your newly installed fence and make any necessary adjustments. Tighten any loose screws and ensure all panels are firmly in place. This final step ensures your fence is both functional and aesthetically pleasing.
Maintenance Tips for Longevity
Your vinyl fence is now installed, but maintaining it is key to ensuring its longevity. Fortunately, vinyl fencing is low-maintenance compared to wood or metal alternatives. Regularly rinse your fence with a garden hose to remove dirt and debris. For tougher stains, use a mild detergent and a soft brush.
Avoid using harsh chemicals, as they can damage the vinyl's finish. With proper care, your vinyl fence will remain an attractive feature of your Howell home for many years.